This blog may contain affiliate links, as an affiliate marketer and as an Amazon Associate I earn from qualifying purchases.
Since I started diamond painting I have kitted up each painting a little differently. There is definitely not any right or wrong way to do it. Hopefully this tutorial will give you some inspiration and insight. You can adapt what I’m showing you to whatever supplies you have on hand, but I’ll include links in case you want to shop for or find out more details about what I’m using.

I store my unfinished diamond paintings in a large portfolio and my drills separately.
🛒 Diamond painting portfolio 🛒


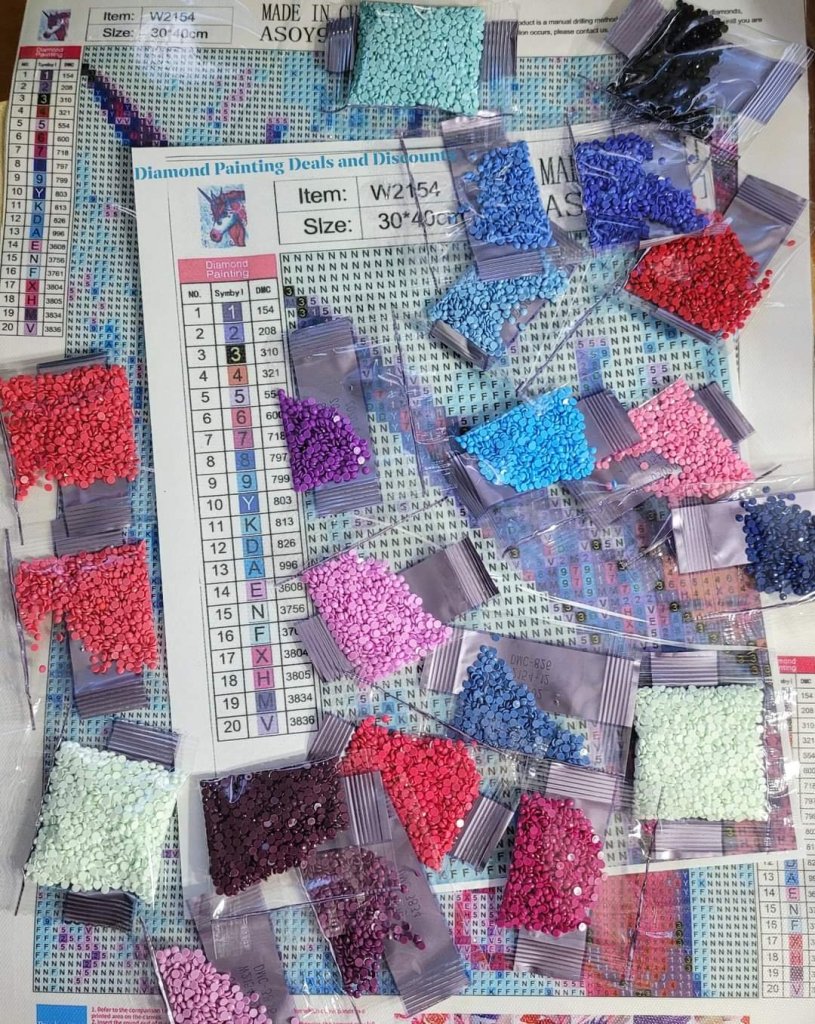
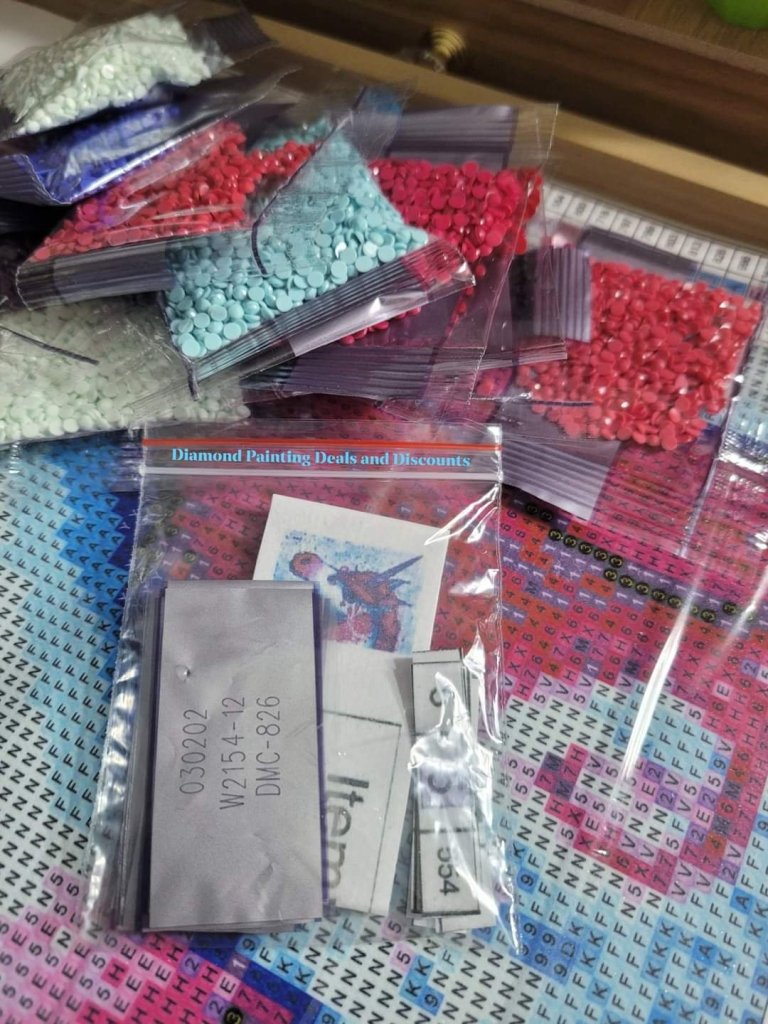
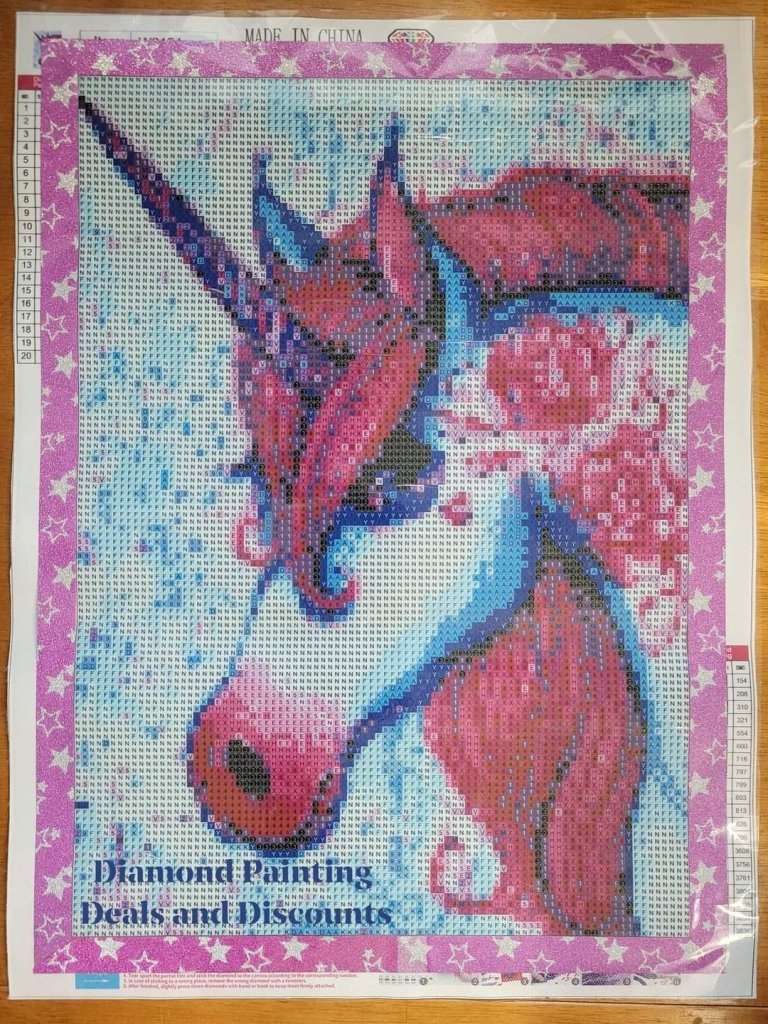
Step one is picking out a painting and finding the matching drills.
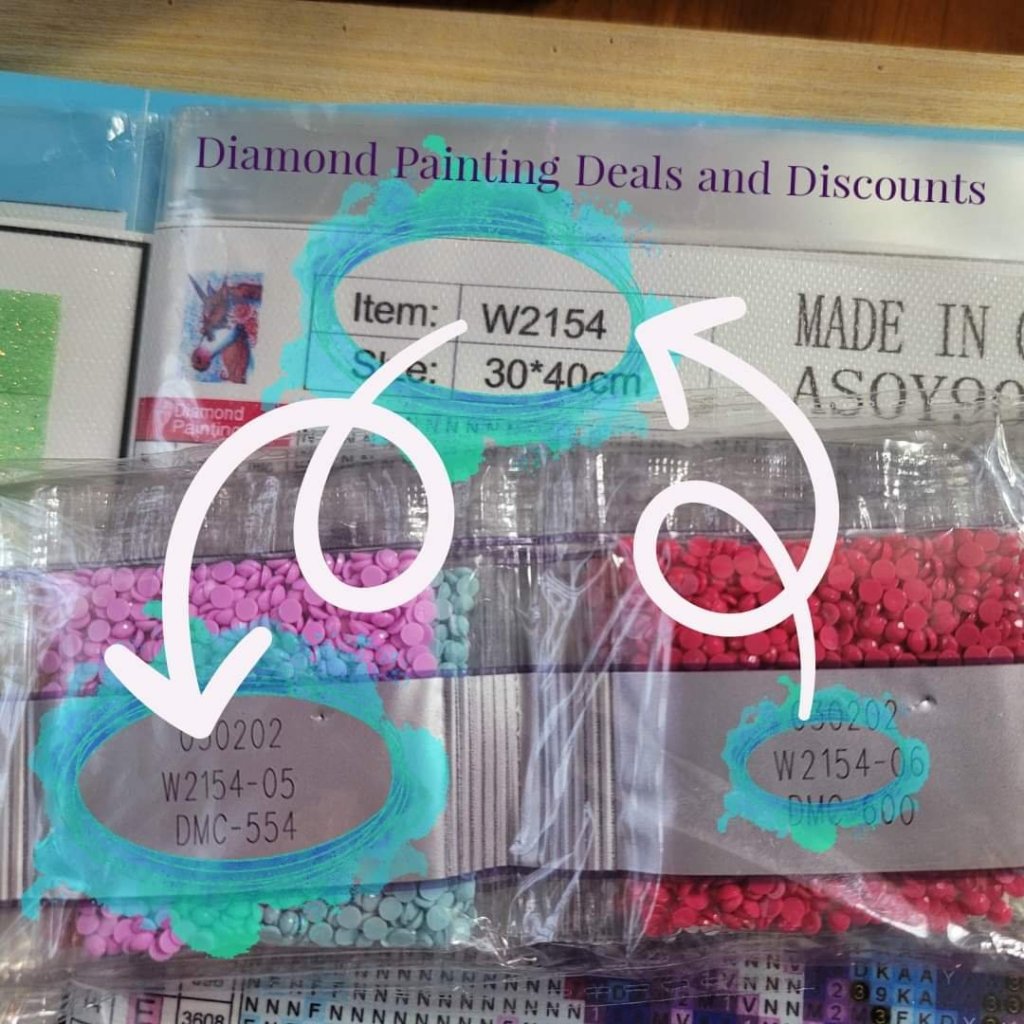
When my kits arrive, before I store them, I make sure the kit number is on the drill packs. I haven’t encountered any yet that aren’t, but I check anyway. 😉
This is how I know which drills match which canvas when kitting up.

I seperate which drills I’ll put in my test tubes, since that holds 12 colors and then I put the rest in my Harbor Freight container.
I put the larger quantity bags in the test tubes since they are more fun to look at and the small quantities in the Harbor Freight containers. If I only need a handful of a color in the section I’m working on I don’t need to bother with a tray when using the Harbor Freight containers.

This time I printed on a regular sheet of paper. You could skip having to glue the labels on by printing directly on sticker paper.
I set the printer to enlarge to 150% and used the scanner function, alternatively you could also take a photo of the legend and kit number and print that.


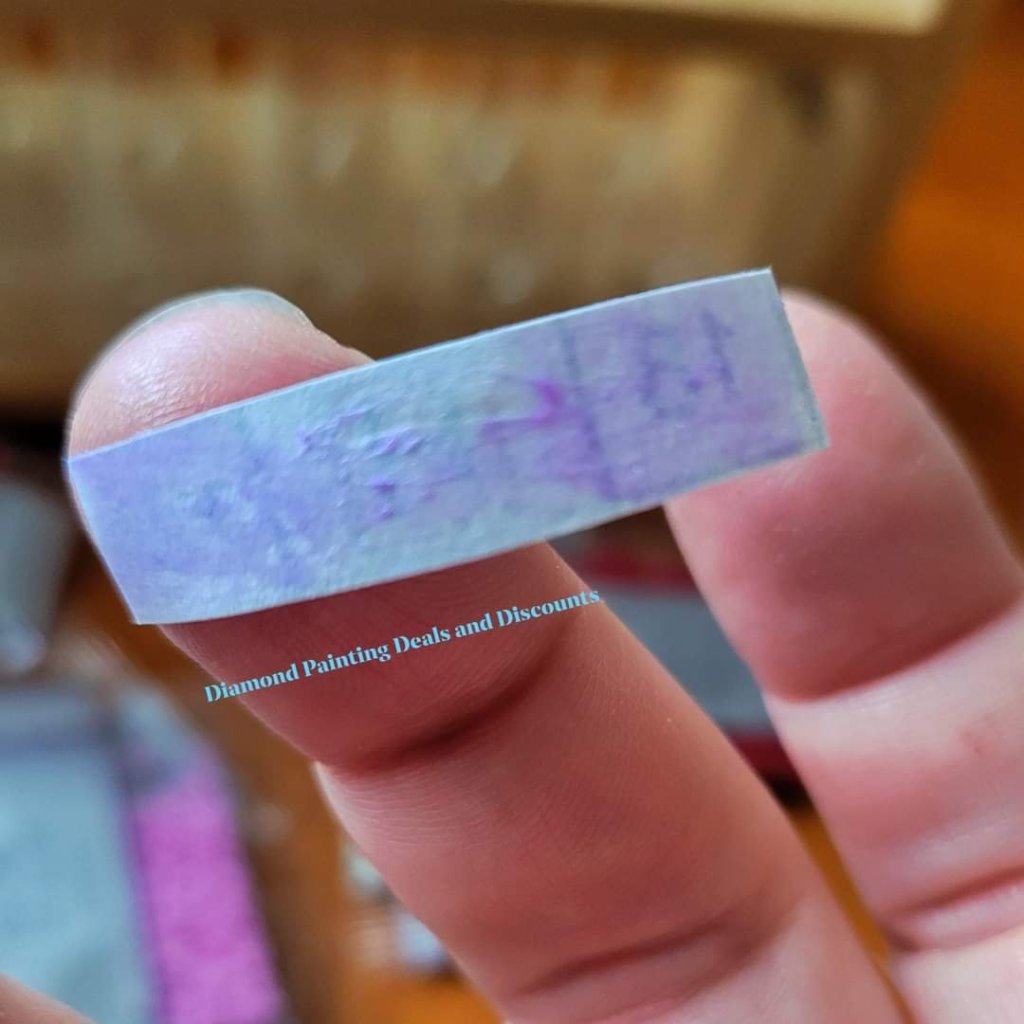
Next I cut out each individual color code with the dmc number (if it’s there). I leave the image attached to the kit number to store with my leftover gems.

Matching up labels and drills.
This Dollar Tree cosmetics case fits 🛒 these 2.5″ x 3″ zip bags 🛒 and 🛒 these 3.9″ x 5.9″ double-sided release papers 🛒 perfectly!


Gathering all my supplies.

I cut out the part of the orginal baggie that has the dmc numbers, and set aside to store with the leftover drills.
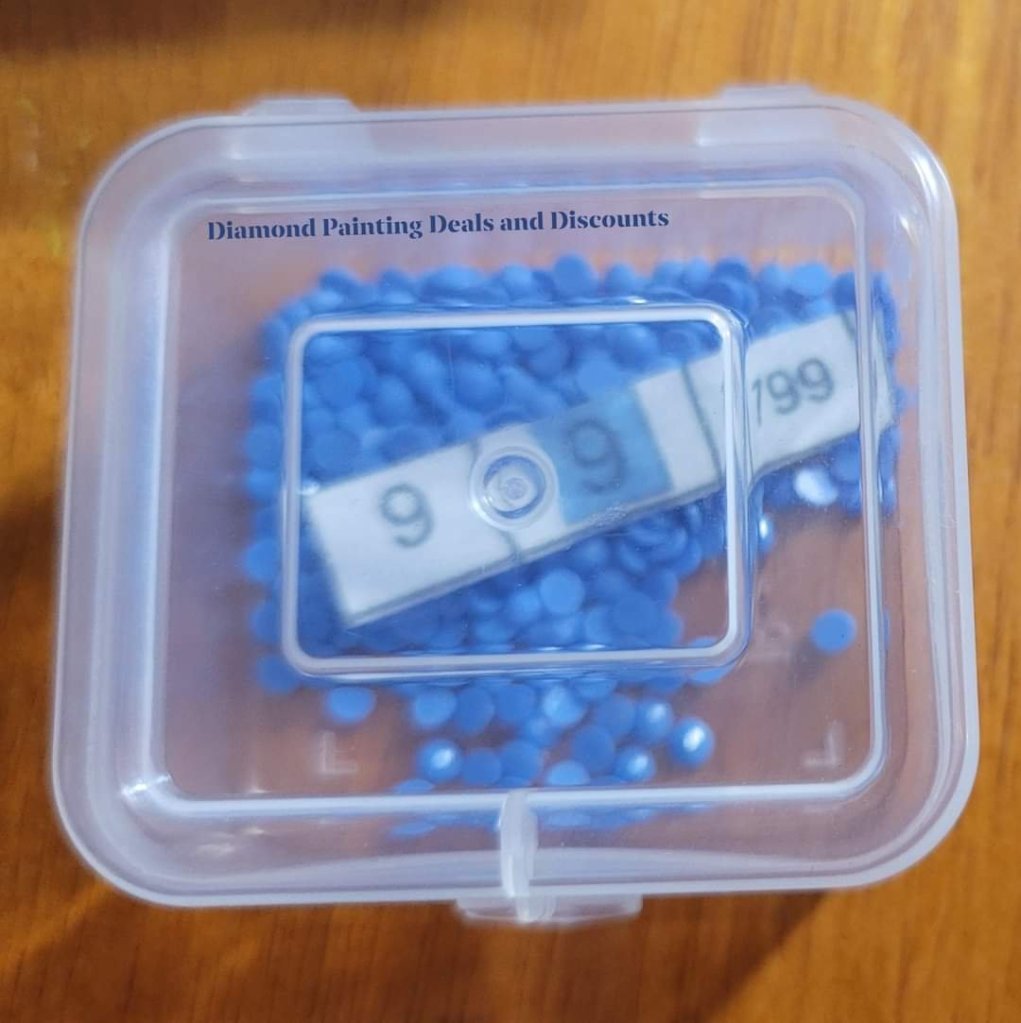
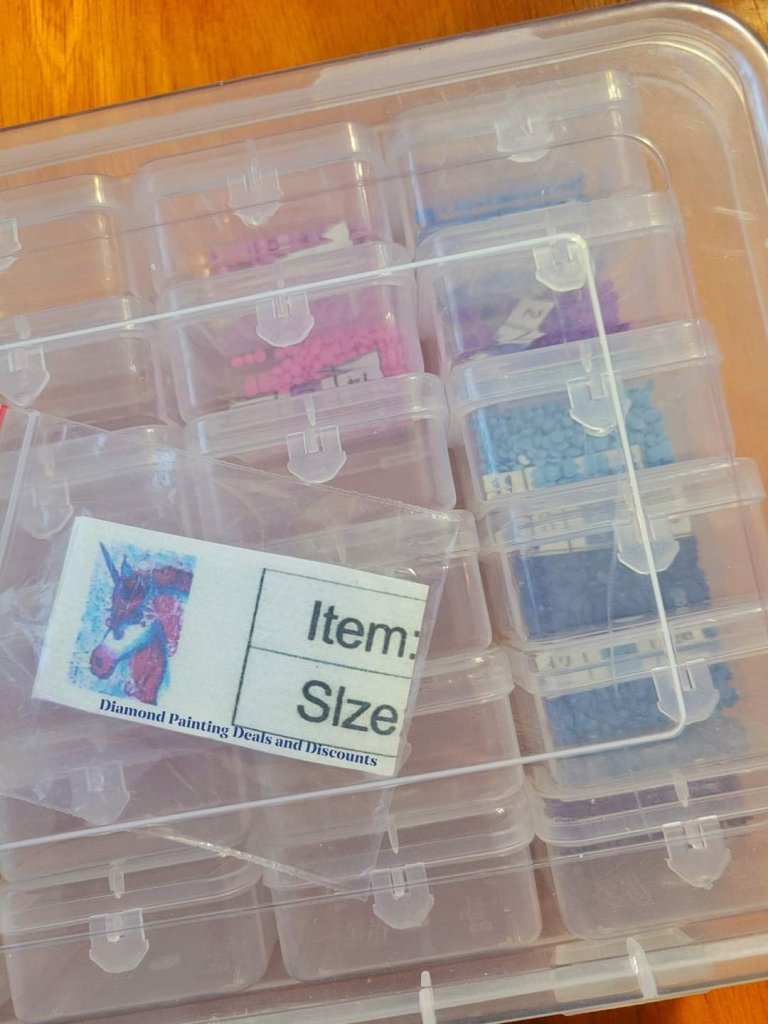
For these containers I just put my labels straight inside the box with the drills. The glue didn’t hold them for me last time. 😔 I plan on using sticker paper to attach them to the outside of the containers next time. 😉
Kitted up and ready to store.
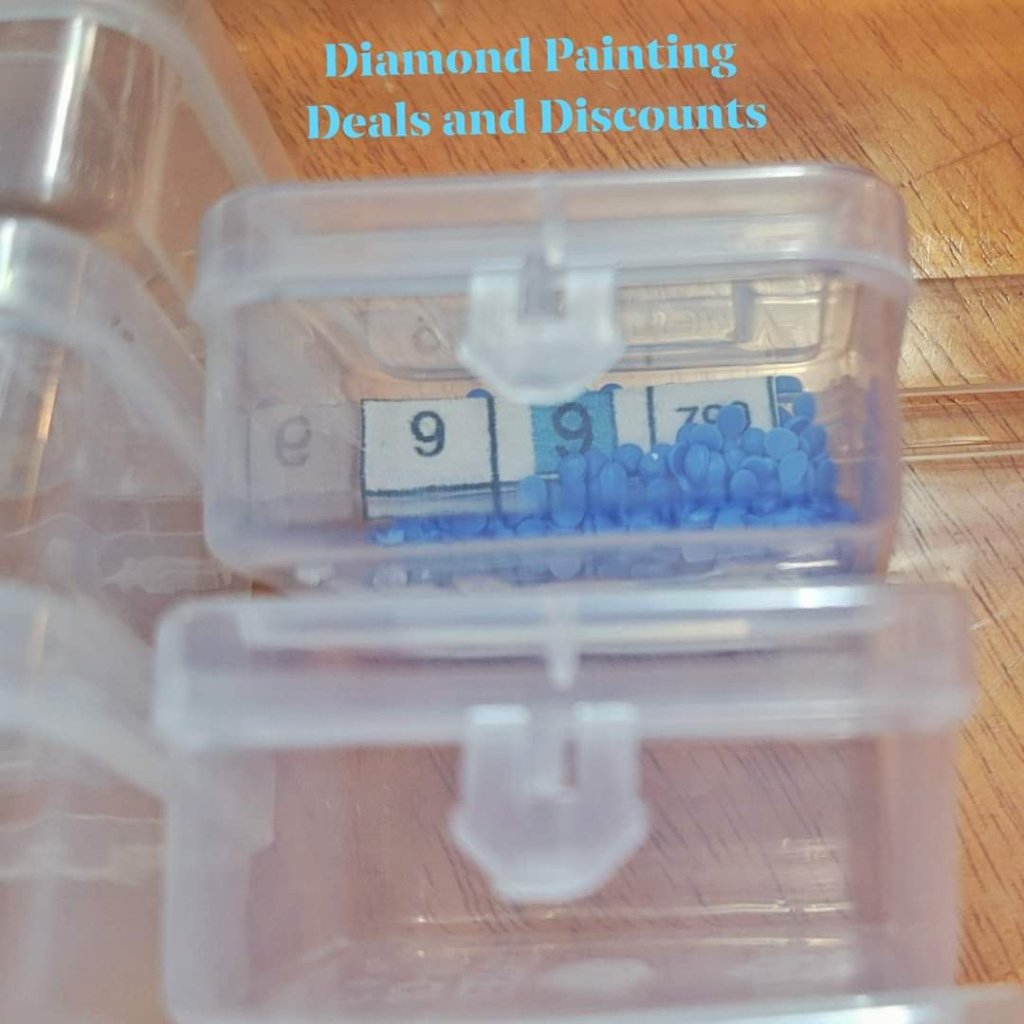
I shake my containers to get the label facing upwards so I can see them at a glance.

Harbor Freight containers kitted up.
Have to take a break mid-kitting up, so I just put all my cut out dmc codes, symbol labels and kit number with picture inside a small zip bag.

Now it’s time to kit up the test tubes.
I hold my fingers where I want to put the first label, so it’s slightly above the wood, where I can see it best.

Since I just used plain paper, I’ll add a little glue to my labels.

Ok, a lot of glue, it’s a glue stick, it needs a thick coat to stay stuck.

I line the rest up by holding the tubes next to each other.

I couldn’t leave out the picture of my daughter “helping” 🥰
Don’t worry, everything is always stored well out of her reach.

All the labels attached.

DMC numbers match on the label and bag.

And then double checking the kit drill number as well.
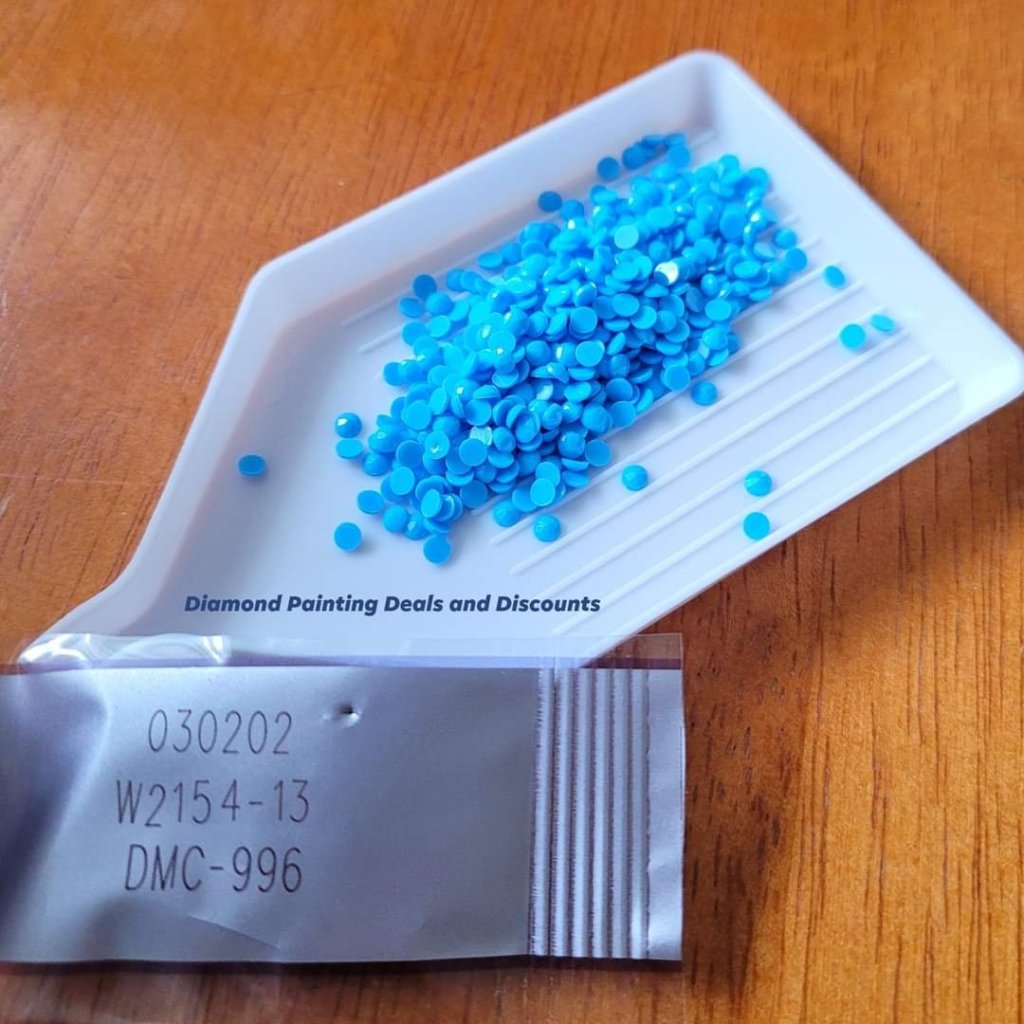
I dump onto these spouted trays and use that to fill the tubes.

From bag to test tube.

The straightner tool makes a great ‘sweeper’ to push the drills into the test tube from the tray.

One color kitted up in the test tubes.
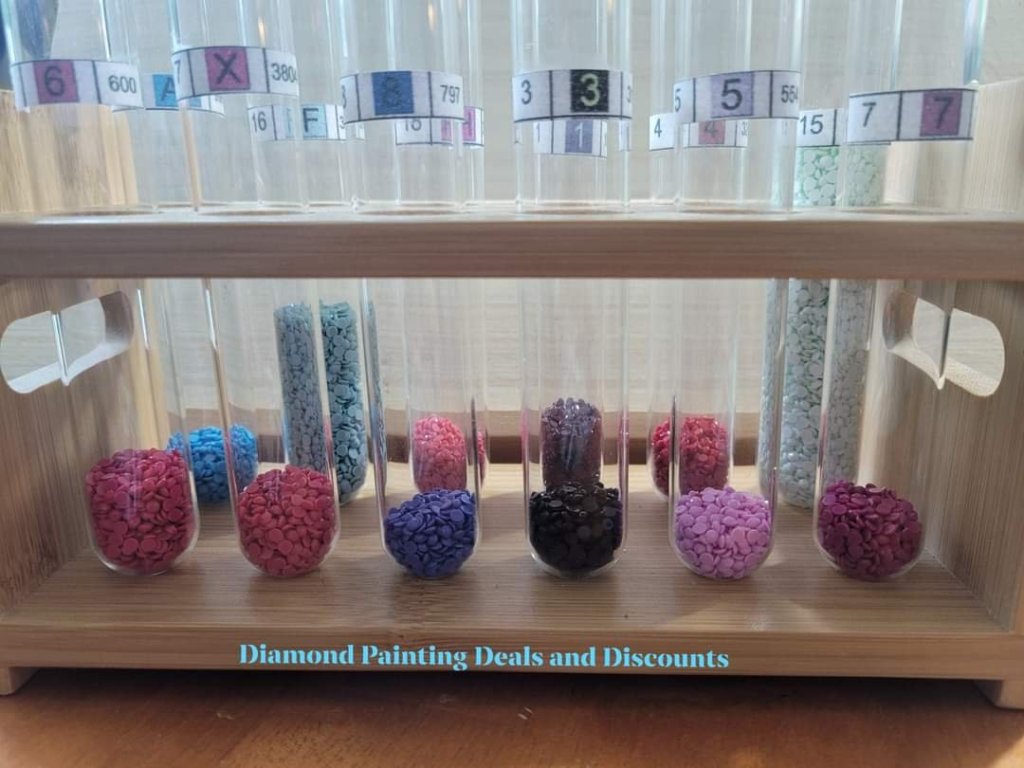
And then, all the colors kitted up in the test tubes.

My little baggie with the kit info and dmc codes (cut from original baggies).
That will just sit on top on the individual drill cases, inside this box. It’s hard to see from the picture angle, but it’s inside the large box.

All kitted up 🥰
And my final step before starting is putting a washi tape boarder around the edge, since I don’t need to refer to the codes on the canvas, and I am not a fan of the sticky border.

